Building a radio (Part 4) - loudspeaker mounting
Published on: 16th January 2024
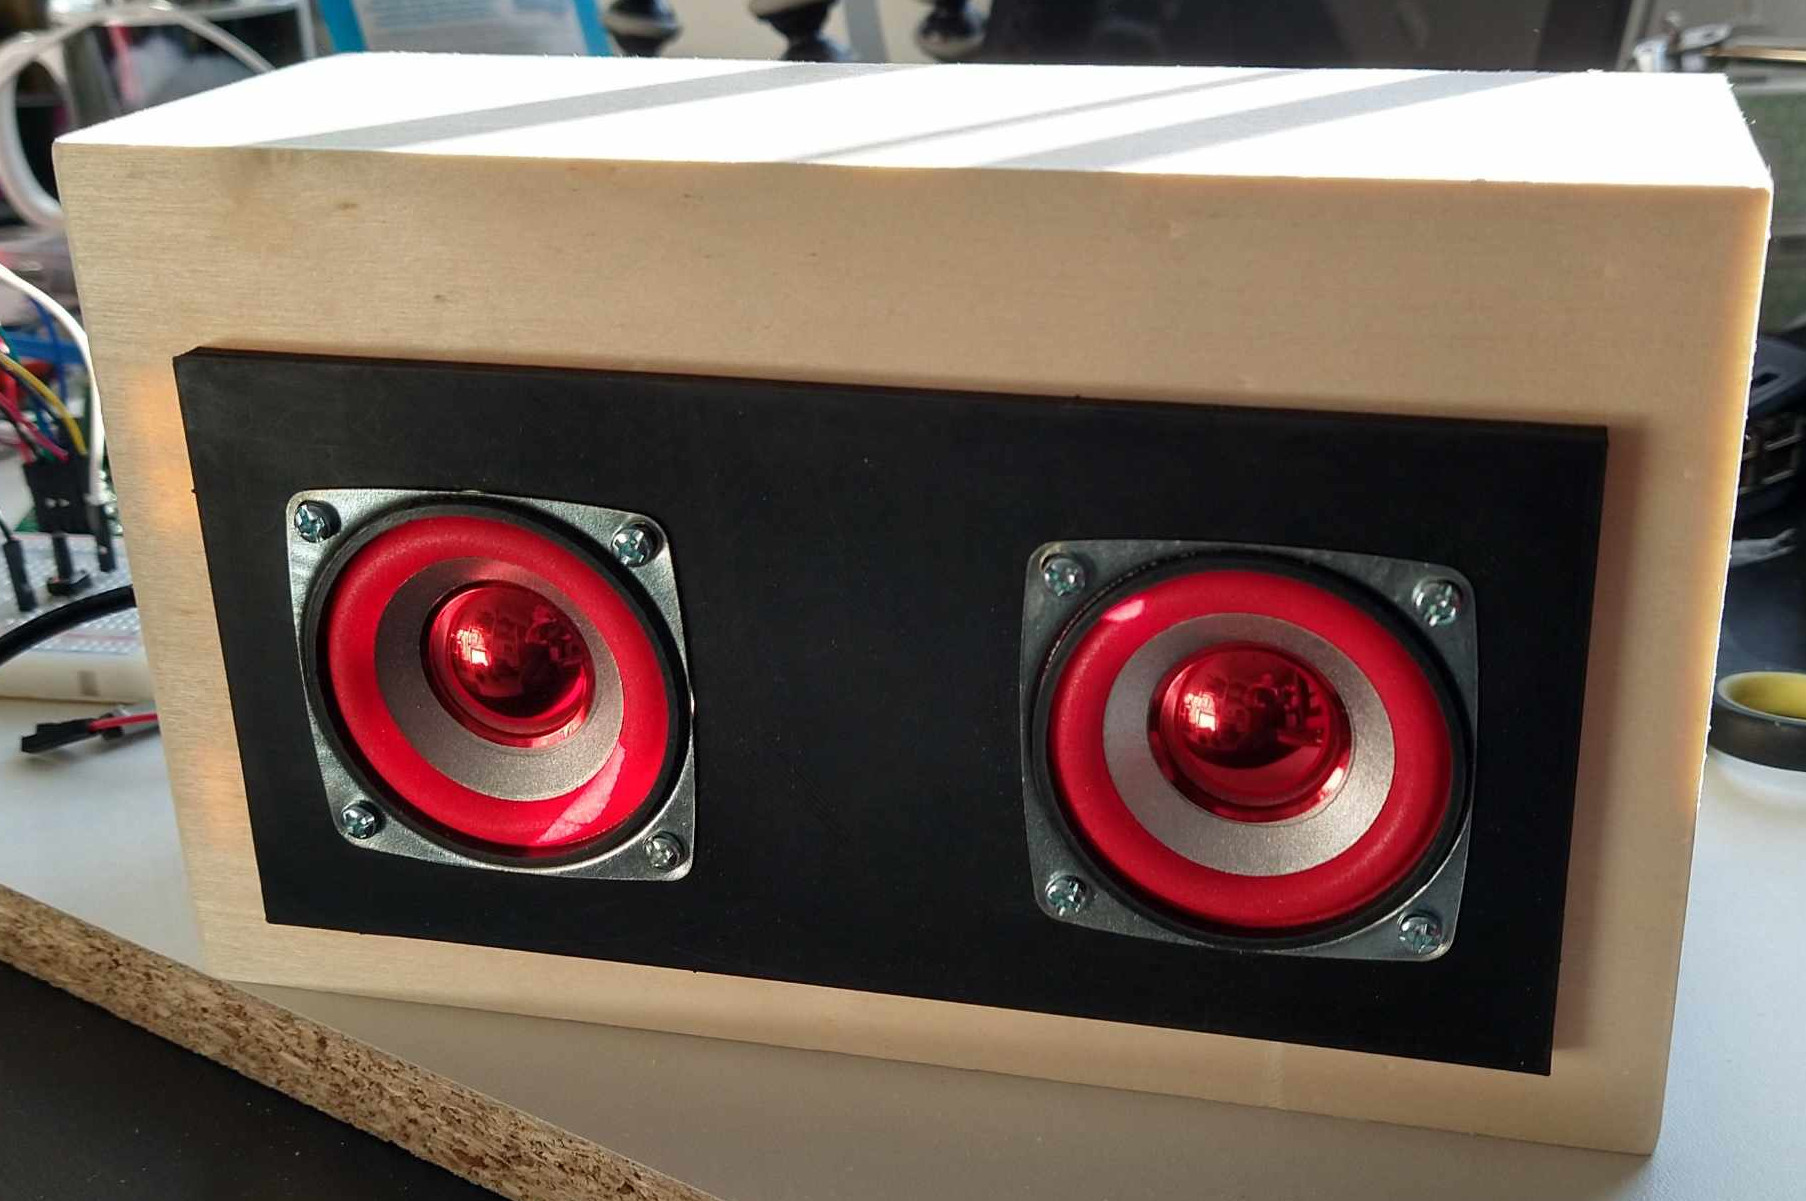
Everything with the radio was going well. However the speakers were facing down onto the desk as there was nowhere to mount them (yet). I had a wooden box to set everything up but certainly not the skills to neatly cut the circular holes that would be needed.
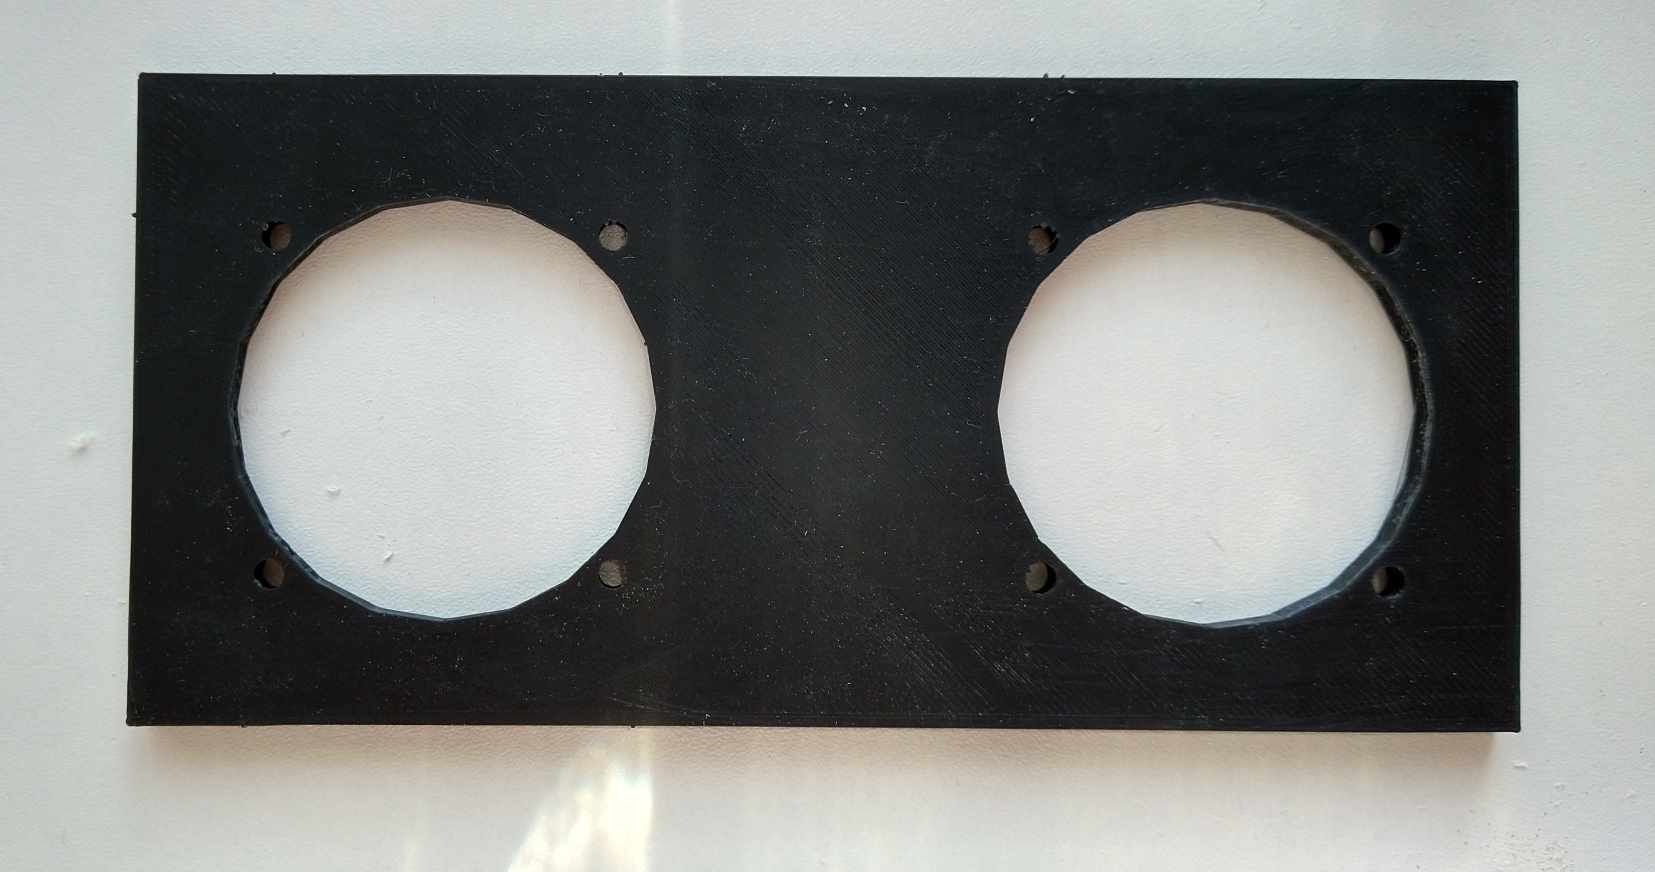
But I have two other things: exact measurements that I could feed into a CAD program and a 3D printer. Oh yes, a 3D printer that will be the focus of many more posts in the future. Anyway, at the moment I needed a simple shape: a rectangle with the required holes for the speakers and holes for the bolts. With that, I cut just cut crude holes in the box in roughly the right place and stick the plastic panel over the top. The mounting holes could be replicated on the box which would handily mount the speakers to the plastic and the plastic to the box at the same time.
Now to dismantle it all again as I’ll need to worry about the control panel…